Reach out to support@sosha.ai with any additional questions or submit a ticket below.
Submit ticketHow to Create Multiple Posts at Once
With the Bulk Post Creator, toolkit builders can create multiple posts at the same time in two ways: uploading a post template or a spreadsheet.
This tool can be used to build multiple posts for different audience types—such as sponsors, speakers, and partners. Before you begin, prepare a spreadsheet with the information that will populate the posts.
Potential columns for your spreadsheet may include:
- A column with image links. Note that the images must be hosted online to apply the link.
- A column with attendees’/speakers’/etc’s names.
- A column with different links.
How to Create Bulk Posts:
You can create multiple posts at once by uploading a spreadsheet with your post copy, images, and/or links.
Here’s how:
Click the arrow next to "Create a New Post" and select Bulk Post Editor. A new window will open.
Select "Continue without templates" on the bottom right corner.

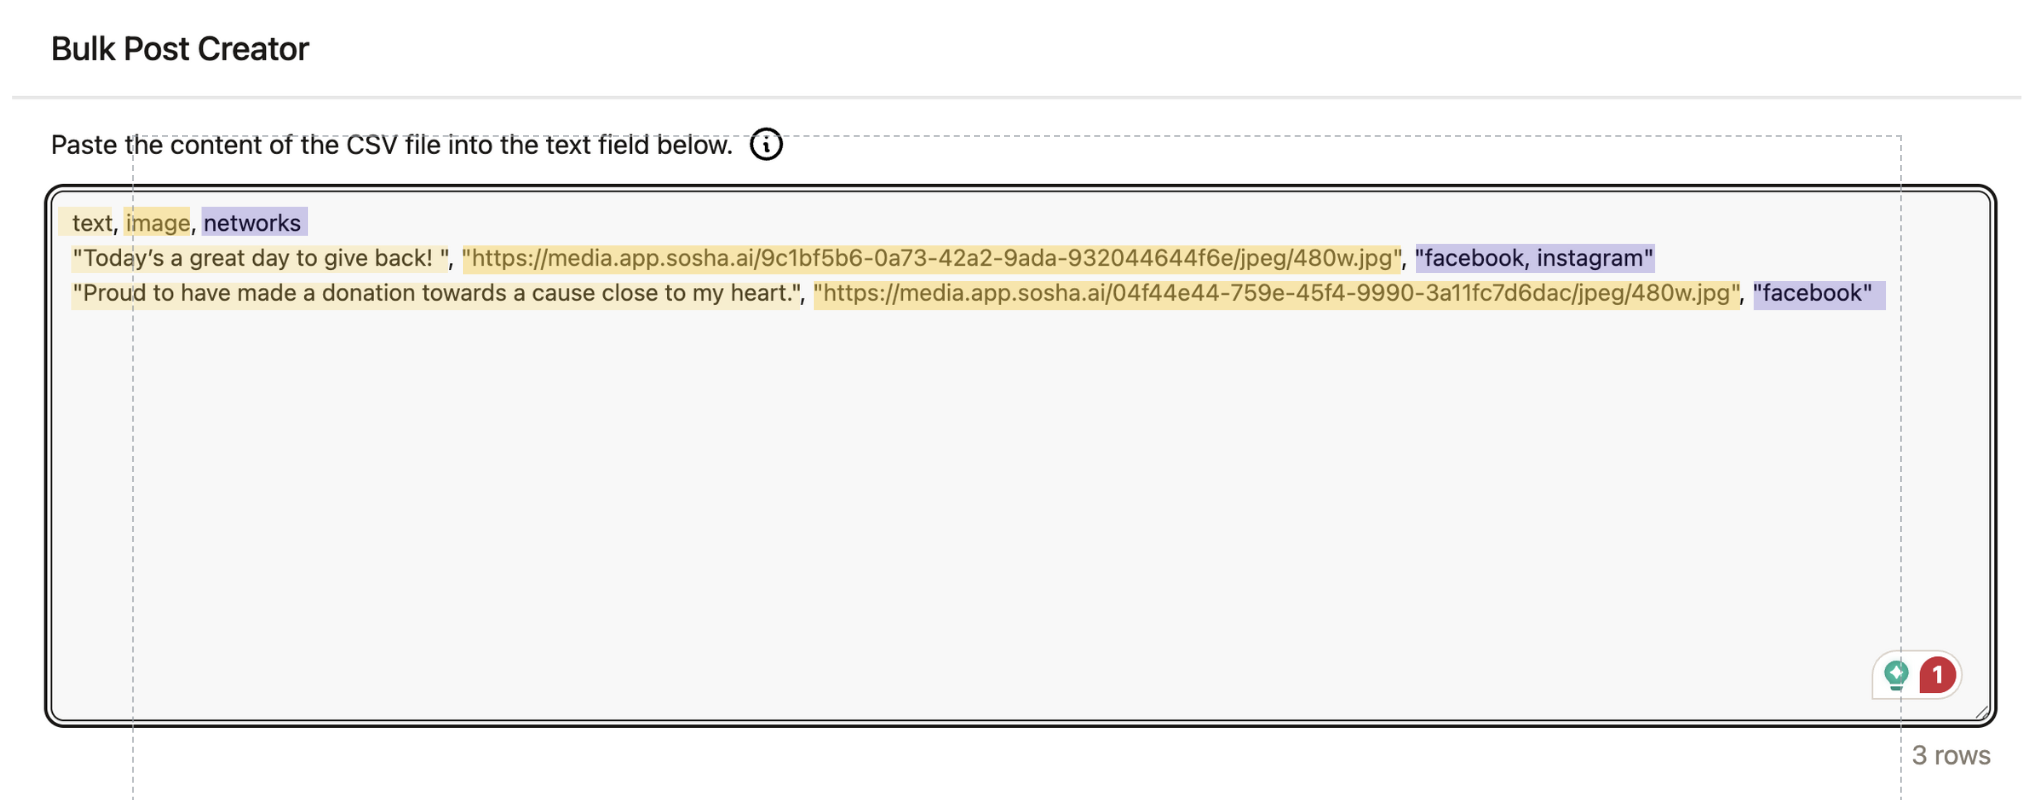
Paste the content of the CSV file into the text field. For every row in the file, a separate post or post variation will be created. The file should have a header row and columns must be separated by either commas, semicolons or tabs.
You can create up to 300 posts or post variations with the Bulk Post Creator.
Hit "Next" to see a preview of all the posts created. Either press save or go back to edit the imported data.
Once saved, the posts will be saved as drafts on the toolkit and you can edit them as you prefer.
How to Create Posts using a Template:
When you create a template, you create one standardized post and leave blanks.
The spreadsheet you upload must have columns to match that so that our system will match the blanks with your spreadsheet information.
First, click the arrow next to "Create a New Post" and select Bulk Post Editor. A new window will open.

Select your social media networks.
Enter your text. Use placeholders in double brackets [[TEXT]] to indicate where spreadsheet data should be inserted (e.g., [[PARTNER_NAME]]). Make sure the column titles in your spreadsheet exactly match the placeholders you use.
Upload a Template Image. Use an image with a blank space where a variable (e.g., a logo) will be placed for each post.
Add links and captions. Like the text, these can also use bracketed placeholders (e.g., [[LINK]]).
Click Next and select the box where images (e.g., logos) will be composited onto your template to set up the image placement.
Paste your spreadsheet data by copying and pasting the CSV text from your spreadsheet. Click Next to generate your posts.
- Note that the platform has a 300-post limit per bulk upload.
Rearrange image order and adjust object fit as needed and save your changes.