
Support Center
Need more help?
Reach out to support@sosha.ai with any additional questions or submit a ticket below.
Submit ticketHow do I incorporate images in my toolkit banner?
You can add images to your toolkit banner by either uploading a file directly or using a public image URL. Both options use Markdown and let you preview your design before saving.
You can add images to your banner in two ways.
Option 1: Upload an Image (Fastest & Easiest)
Use this method to add an image or GIF directly from your computer.

Go to the "Appearance" tab in your toolkit. Select "Banner" from the dropdown menu.
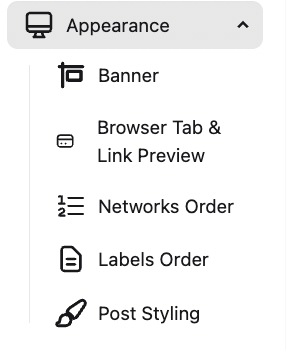
In the Toolkit Banner section, click the image icon in the toolbar on the right.

Select "Image Upload".
Upload a file by dragging it in or clicking to browse your desktop. The image will appear in your banner preview, and Markdown will be added automatically.
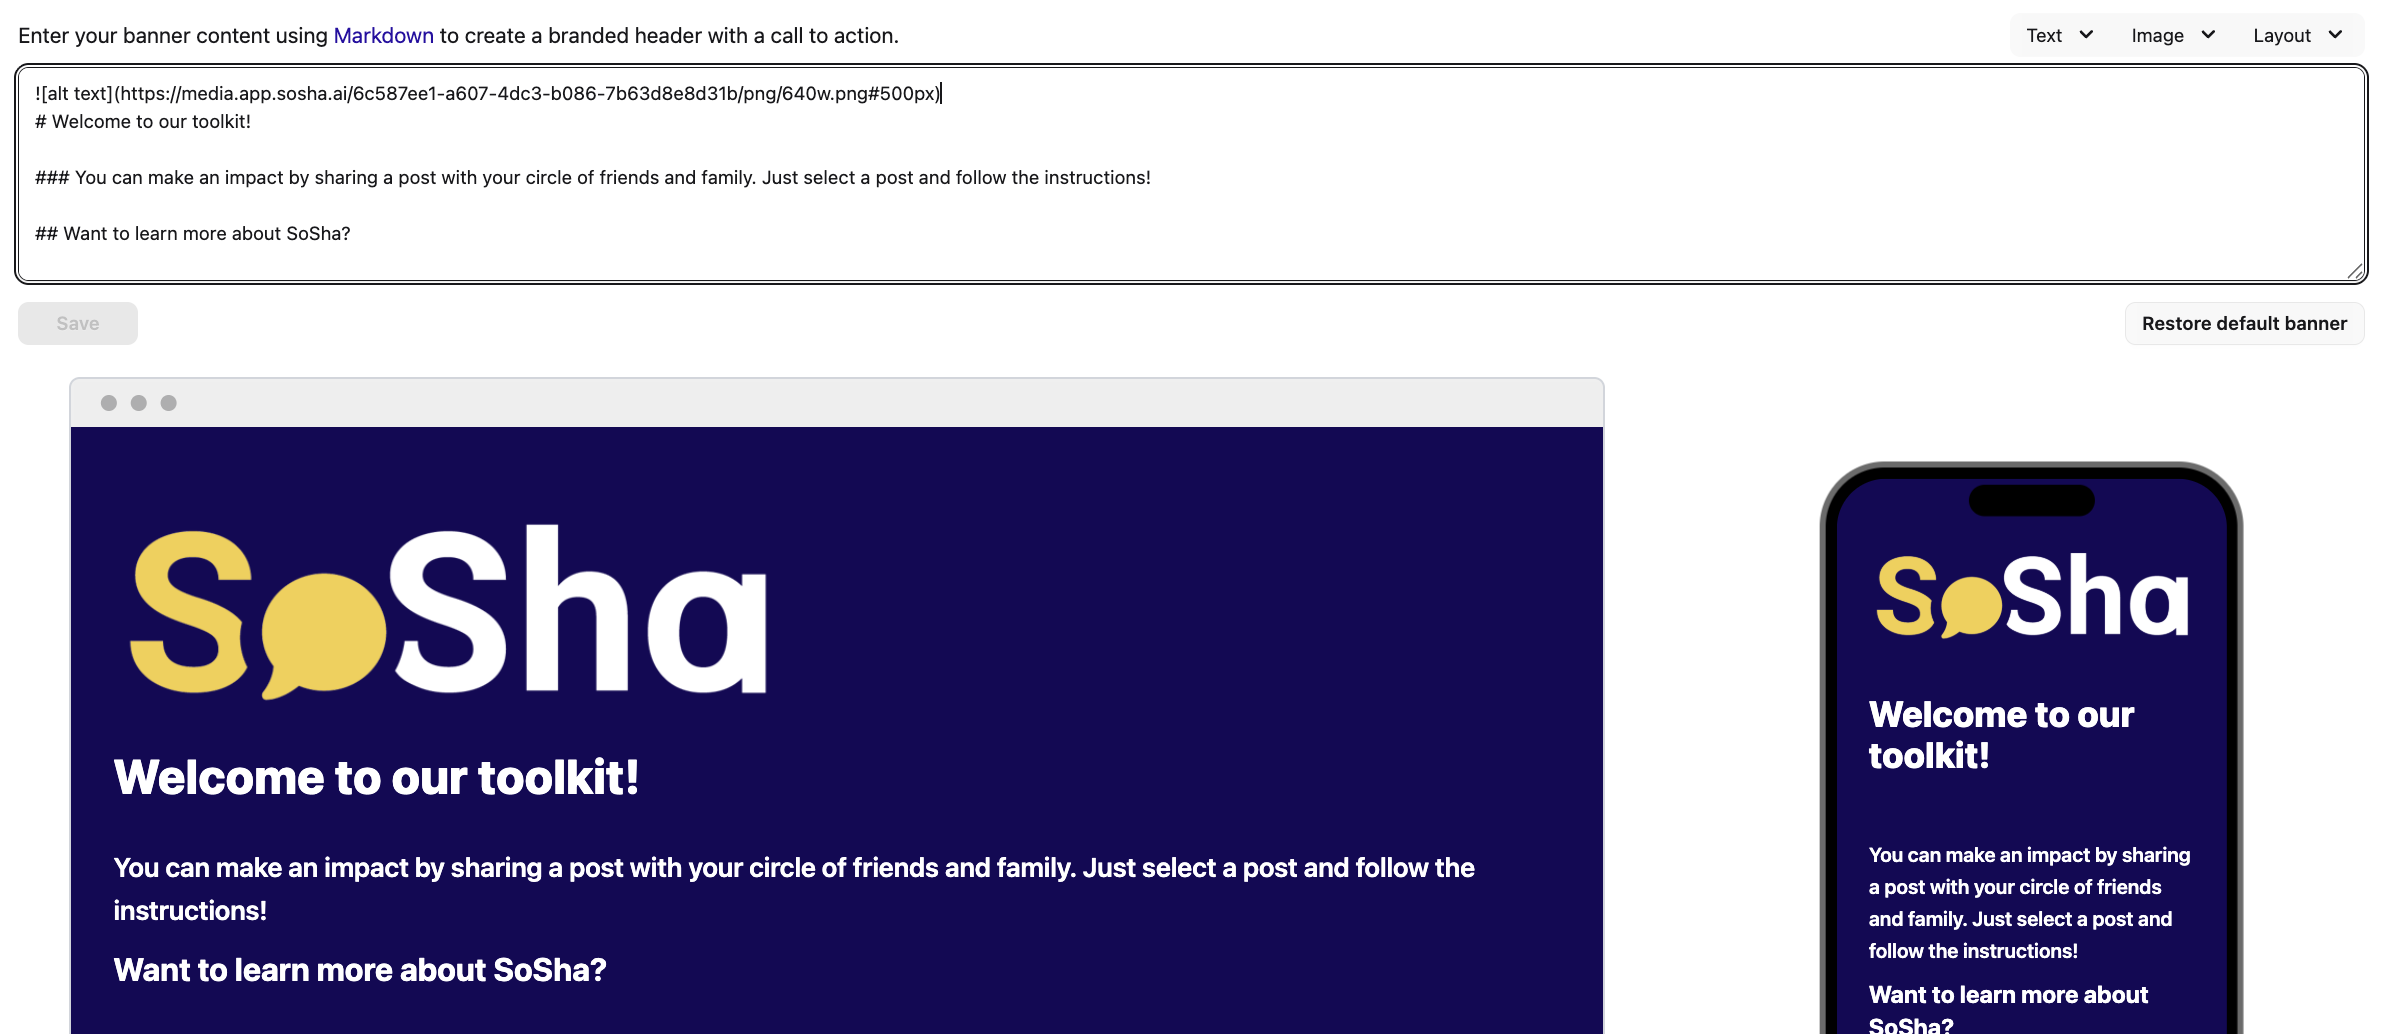
To resize the image, update the pixel value after the # in the markdown (for example, #400px sets the width to 400 pixels).
Click “Add Image to Banner”. Review your changes in the live preview, then click “Save.”
Option 2: Use a Public Image URL
- Use this method to add an image that’s hosted online (e.g. via Imgur).
- Upload your image to a platform that gives you a public link (we recommend Imgur).
- Copy the direct image URL.
- In the banner toolbar, select "Add image from URL."
- The following Markdown will appear: . Replace image.jpg with your copied URL.
- Update the alt text with a description for screen readers (recommended for accessibility).
- Check your live preview and click “Save.”
- Tip: Use Imgur or another image host that provides a direct, publicly accessible URL. This ensures your image displays properly in the banner.